Apart from just running out a report, Sage Intelligence allows you to automatically save the generated workbook to a file during run-time. This is useful, for example, if you run a monthly sales report that needs to be saved to a central location for others to view. In this tip, I’m going to show you how this can be done.
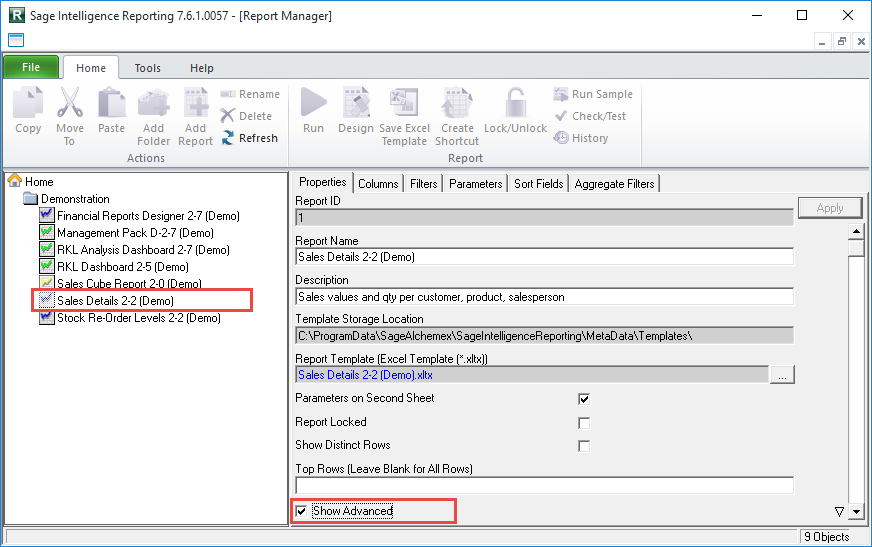
1. In the Report Manager, select the report in question.
2. Then display the advanced properties for it by selecting the Show Advanced checkbox in the Properties tab.
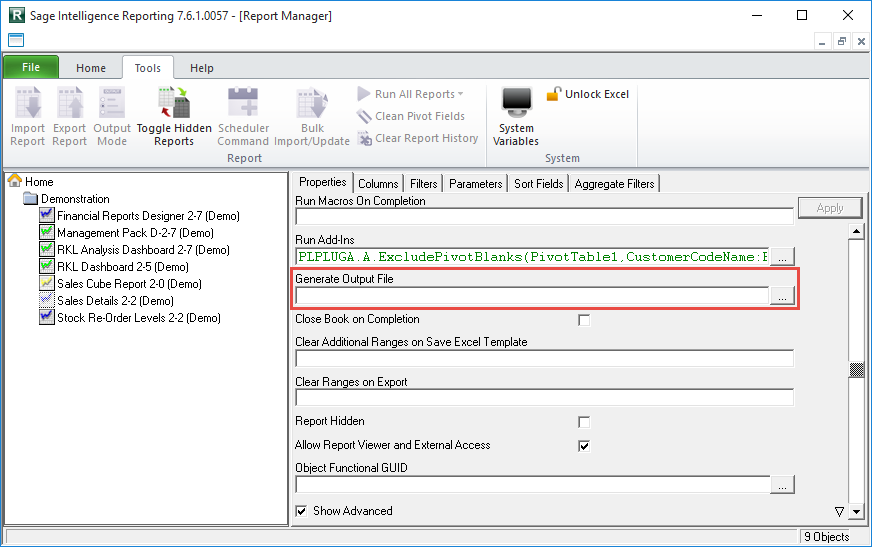
3. Scroll down until you get to the Generate Output File option and click the ellipses to the right of it.
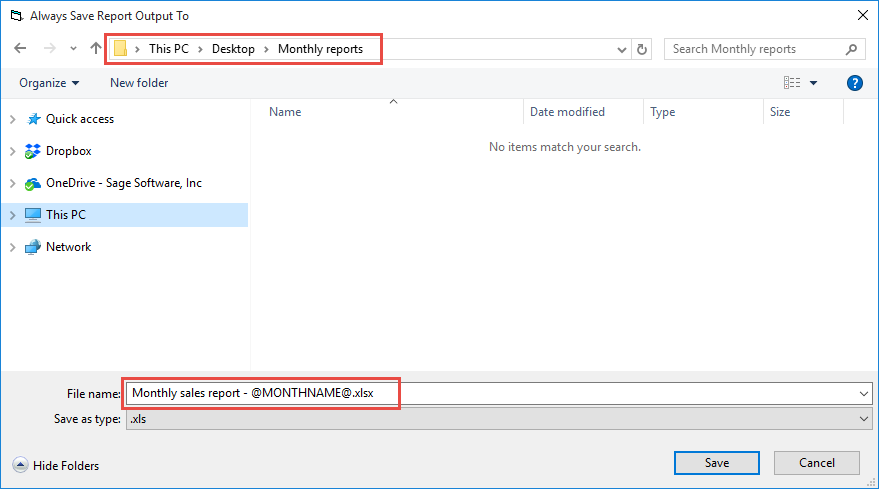
4. A dialogue will appear allowing you to specify the location you would like the workbook saved to. I have chosen to save mine to a ‘Monthly reports’ folder on my desktop, but this could also be a shared network location. If you have a cloud file storage service like OneDrive set up on your machine, you can even save the workbook to a OneDrive folder, making it accessible in the cloud.
5. You will need to give the workbook a name, and take note that you can use system variables in the name. Using system variables is helpful to give the name more meaning and can ensure that previous instances of the workbook aren’t overwritten with the current one. I’ve used the @MONTHNAME@ system variable which will add the name of the month that I run the report out in to the file name.
Note: If you would like to view the system variables that are available to you, you can do so by selecting System Variables from the Tools menu in the Report Manager.
6. Although the default file type for the report is .xls, it’s a good idea to save the workbook in an .xlsx format. You can do this by typing .xlsx as the extension in the file name. If you would like the file saved as a macro enabled workbook, then you can use .xlsm.
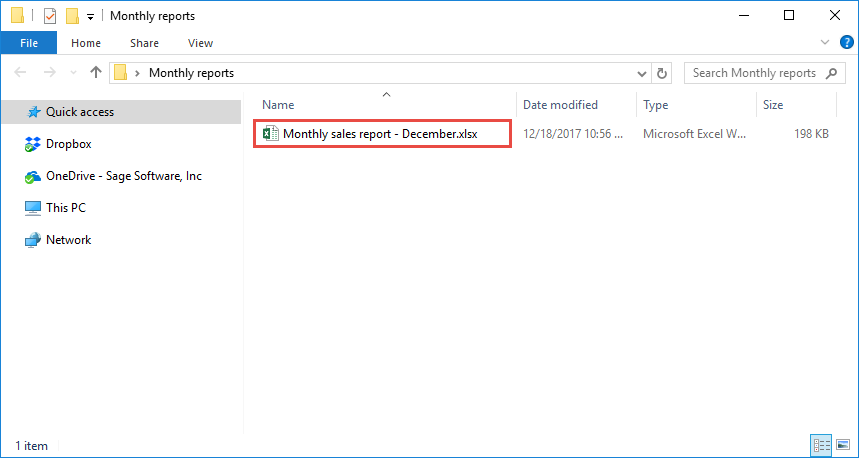
7. Once done, click Save, and the dialogue will close. You can then run the report. As you can see on doing so, in my case, a copy of the workbook is saved to the location I specified, along with the current month included in the name, and in the format I entered.
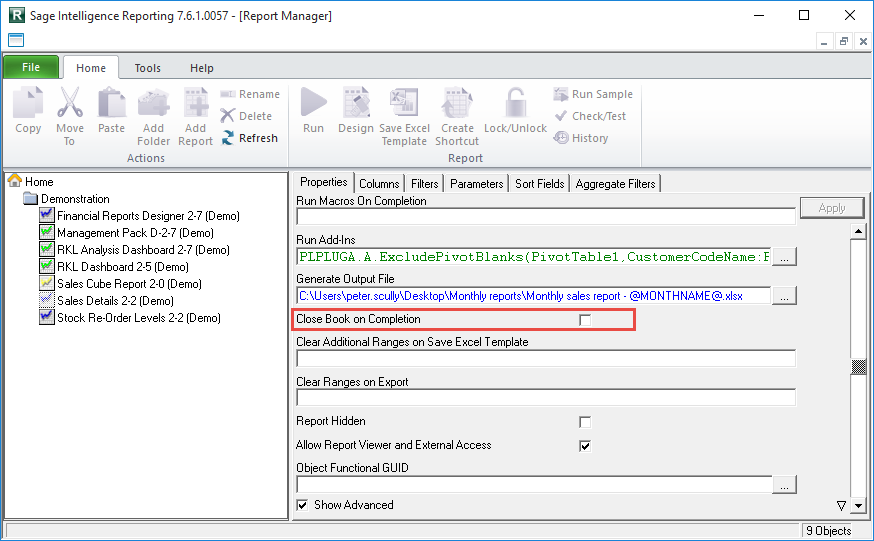
Tip: If all you’re interested in is the saved workbook, and you have no need for the report to be generated to Excel, then you can use the Close Workbook on Completion option under the report’s properties to have the Excel workbook closed automatically after it is run out.